There a few kitchen basics, such as learning how to make the perfect scrambled eggs and omelet to learning essential knife skills, that deemed themselves necessary for me. Milestones if you will. But handling meat was another milestone that I had a fear of until culinary school. For a few reasons; pressure of being the main event and also while being unsure of the correct ways to handle and treat this rather expensive kitchen ingredient. While asking your butcher is a huge benefit, I know we all are perfectly capable of handling this task all on our own. It’s not as daunting as you may think! Plus the bragging rights are pretty tremendous!
A few tips to get us started. Having a well sharpened, boning knife is a game changer. I am sure you have heard this before, but a dull knife is more dangerous than a sharp knife. More room for that knife to slide all over the place while not slicing your ingredient. The best knife to break a chicken down if you don’t have a boning knife is a chef’s knife, which is what I use.
Second tip, much like other recipes, the higher quality meat you start with, the better end product! In our kitchen Minnesota-based Gold’n Plump is our choice for their all-natural chicken raised on family farms. They don’t take any shortcuts so their products contain no artificial ingredients, preservatives or added hormones.
Their whole chickens are not injected with a solution used to enhance the flavor and juiciness. Second, the neck, gizzards and other pieces of the chicken have been removed. Both of these aspects are beneficial to you when purchasing a chicken by weight; meaning more meat for you!
This is my preferred way to break down a chicken, as it is the one I learned in culinary school. Hard to teach an old dog new tricks. This way leaves you with two boneless breasts, two full wings and two bone in legs and thighs.
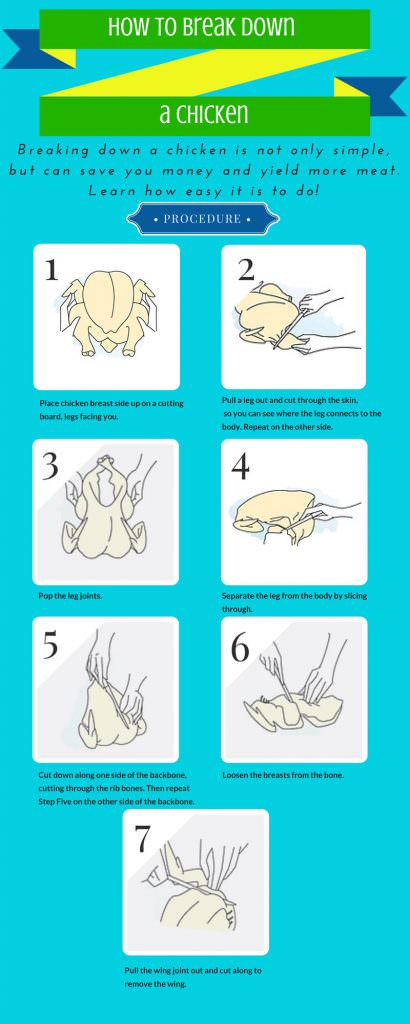
So let’s get started! But in case you are a visual learner, I have provided an infographic for a quick glance!
Step 1: Start with the chicken breast-side up on a clean cutting board, facing you. You can tell you have the bird breast-side up because the wings and legs will be pointing towards the sky. Next, gently press on the bird to flatten and loosen the joints. Find the natural seam where the thighs separate from the body of the bird. Make a shallow slit. Repeat this on the other thigh.
Step 2: Place your hand underneath the thigh and pop the joint where the thigh meets the body. Then flip the chicken over and use your knife to completely cut through the joint. Repeat with the other thigh and joint.

Step 3: Grasp one leg in each hand, lift the chicken and rotate with your hands, bending the legs back until the leg joints pop out.
Step 4: Grip one leg and pull it away from the body. With your knife, separate the leg bone from the socket. Repeat on the other side. Place a leg skin side down. Find the joint that connects the drumsticks to the thigh. Cut through the joint. Repeat on the other leg. Set thighs and drumsticks aside.
Step 5: Flip your chicken so the breast side is down. Find the backbone with your fingers and cut down along one side of the backbone, cutting through to the rib bone. Repeat on the other side of the backbone.
Step 6: To remove the breast, lay the chicken flat, skin side down. Run your fingers along the center of the breast – you will feel a line of collagen separating the breast into two halves. Run your knife along either side of this collagen, keeping your knife as close to it as possible to ensure the most meat stays in tack. Peel the breast back, sliding your knife underneath it along the cavity as you go, until the breast comes free. Repeat with the other breast.

Step 7: Lastly, to remove the wings, place a breast half on the board, wings facing you. Gently pop the joint, like we did to the thigh bone. Next, cut completely through the joint. Repeat this on the other side.

Now stand back and look at your accomplishment! First off, save the bones to make your own chicken broth! Here a few to get you going. Plus it freezes wonderfully for future use!
- Ina Garten’s Chicken Stock | Food Network
- Homemade Chicken Broth | Good Housekeeping
- How to Make Homemade Chicken Stock | The Kitchn
And for the thigh, legs, breast, and wings, I have gathered a handful of recipes to get your taste buds going!
Chicken Breasts
Honey Sriracha Chicken Rice Noodle Bowls | With Salt and Wit
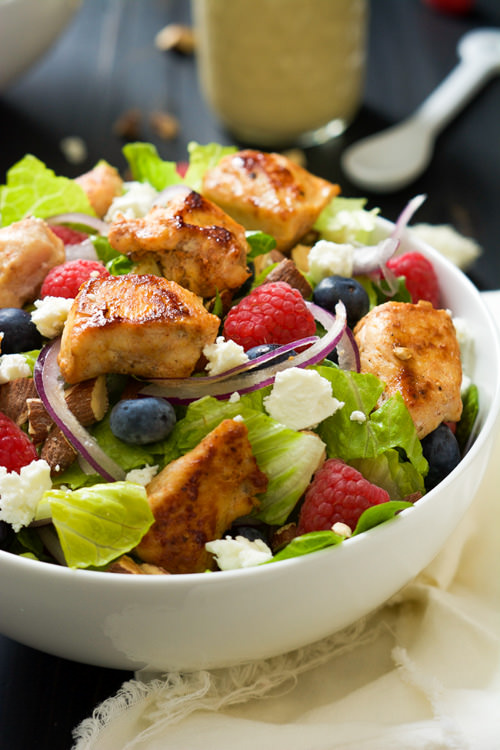
Blueberry & Goat Cheese Chicken Salad with Peanut Dijon Dressing | With Salt and Wit
Almond Crusted Sweet and Spicy Chicken Strips | Cooking and Beer
Fried Chicken Buffalo Pretzel Sliders | Mariah’s Pleasing Plates
Chicken Thighs
Easy Weeknight Chicken Tacos | How Sweet Eats
Sticky Bourbon Chicken with Rice | Pinch of Yum
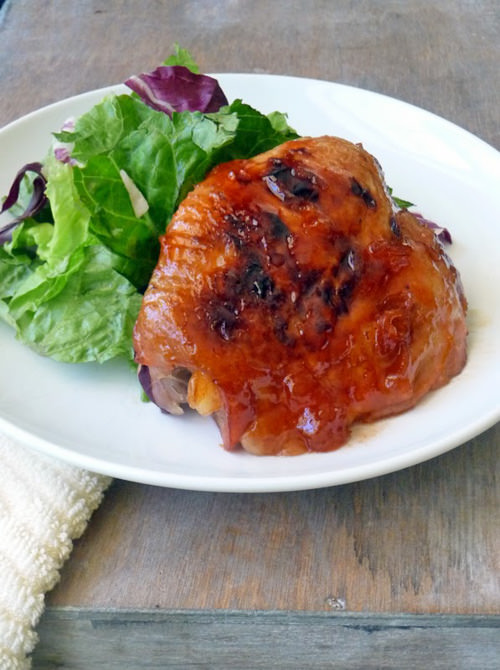
Baked Apricot Chicken | Life Tastes Good
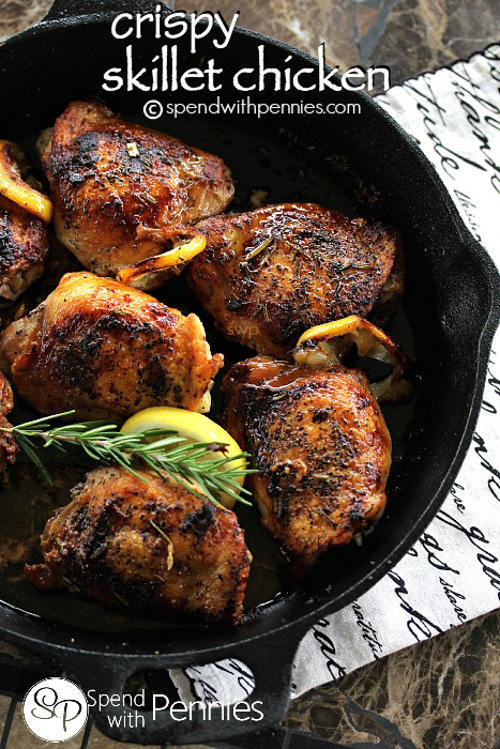
Crispy Skillet Chicken | Spend with Pennies
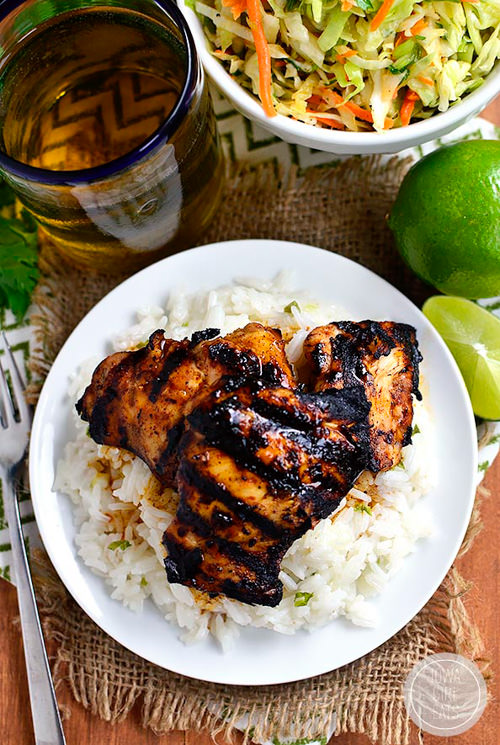
Grilled Chili Honey Lime Chicken Thighs | Iowa Girl Eats
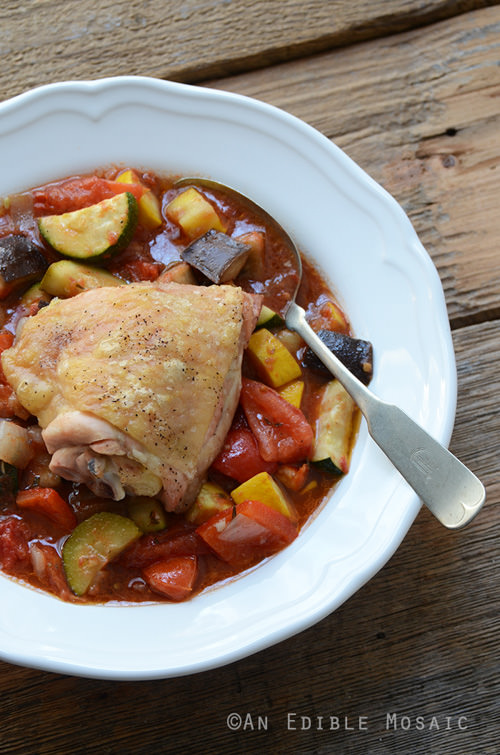
Roast Chicken Ratatouille | An Edible Mosaic
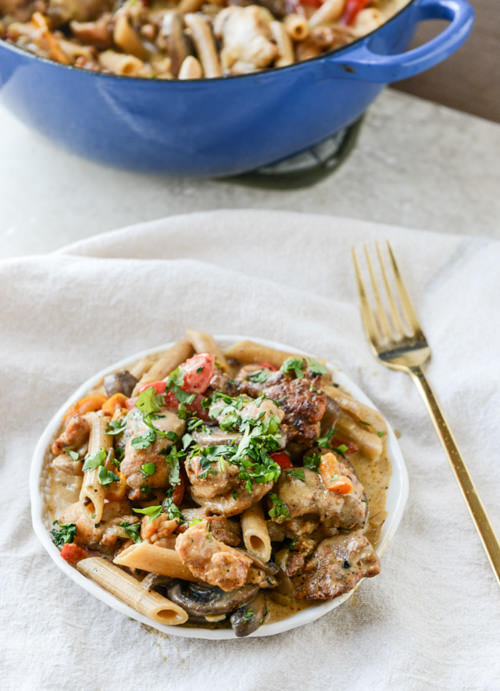
Creamy Cajun Chicken Penne Pot | How Sweet Eats
Coconut Harissa Curry Braised Chicken With Root Vegetables | The Roasted Root
Healthy Quinoa Chicken Curry Bowls | Pinch of Yum
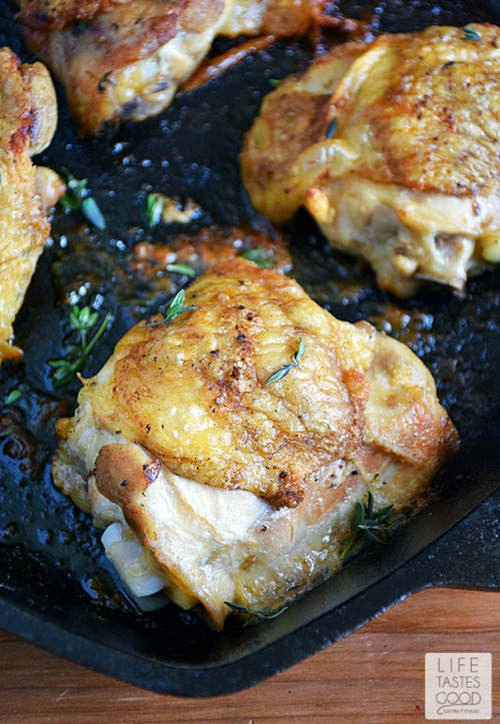
Pan Roasted Chicken Thighs | Life Tastes Good
Shredded Kale Salad with Fried Chicken | How Sweet Eat
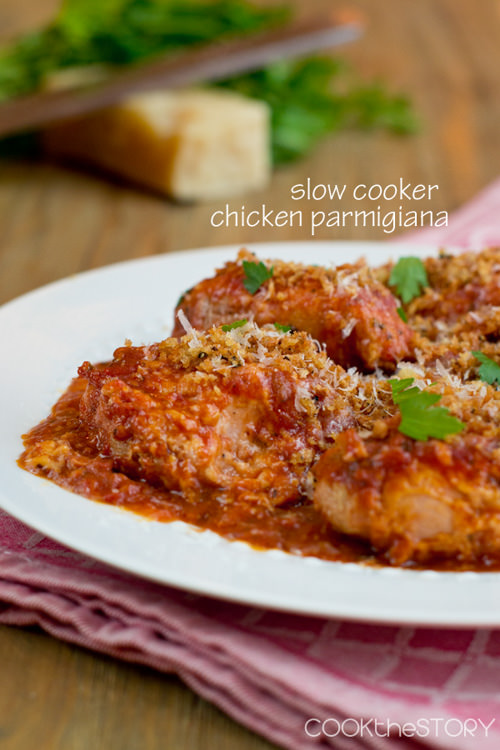
Slow Cooker Chicken Parmesan | Cook the Story
Skillet Chicken with Bacon and White Wine Sauce | Pinch of Yum
Drumsticks and Wings
Slow Cooker Garlic Honey Teriyaki Chicken Wings | With Salt and Wit
Citrus Chicken | An Edible Mosaic
Baked General Tso’s Sticky Wings | Carlsbad Cravings
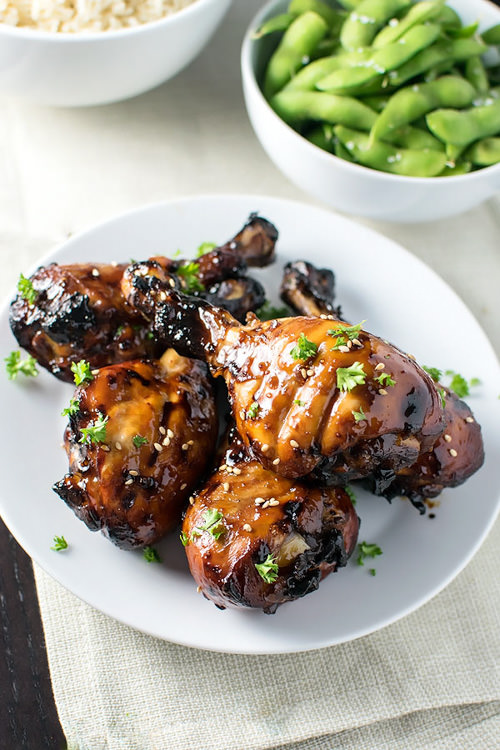
Sticky Honey Sriracha Drumsticks | Homemade Hooplah
Jamaican Jerk Chicken Drumsticks with Caribbean Rice and Beans | Recipe Tin Eats
Legs
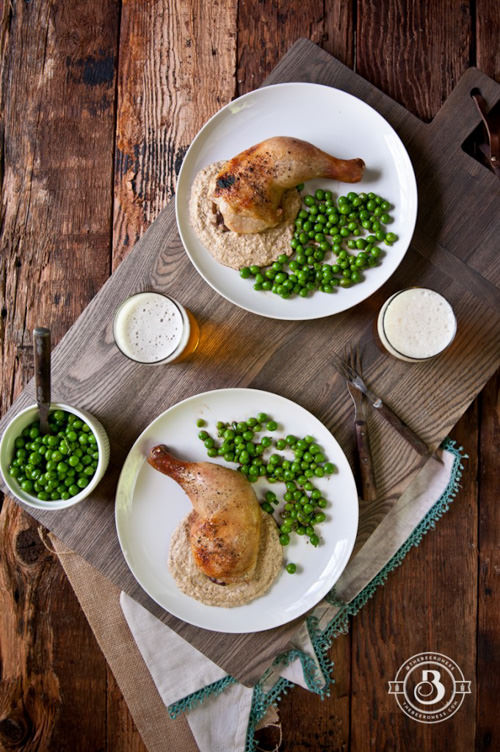
Roasted Beer Brined Chicken Legs over Grilled Corn Puree | The Beeroness
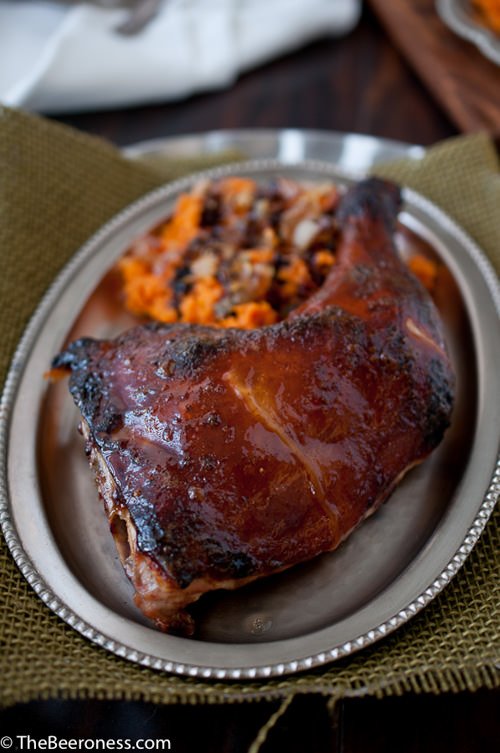
Mirin Stout Glazed Roast Chicken with Maple Sweet Potatoes | The Beeroness
All Chicken Pieces
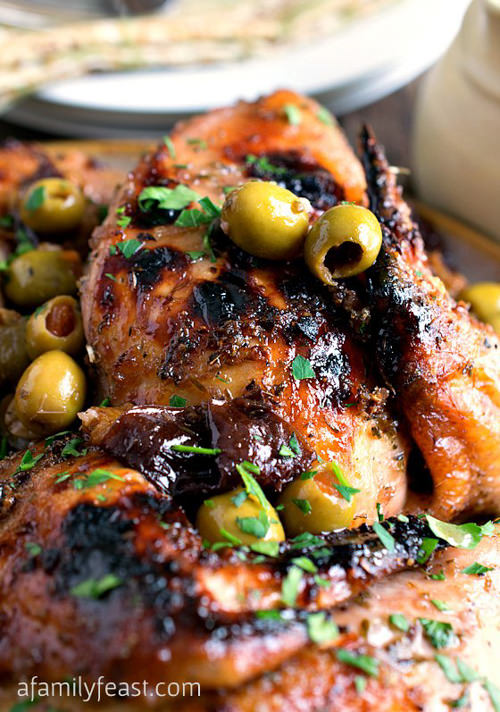
Chicken Marbella | A Family Feast
Grilled Chicken for a Crowd | Cook the Story
This post is sponsored by Gold’n Plump. But as always, opinions are my own! Thank you so much for supporting the brands that With Salt and Wit loves!
6















Comments